Create My Activity Session
To create an activity session.
Step 1 – Select an Activity to expand the session ribbon.
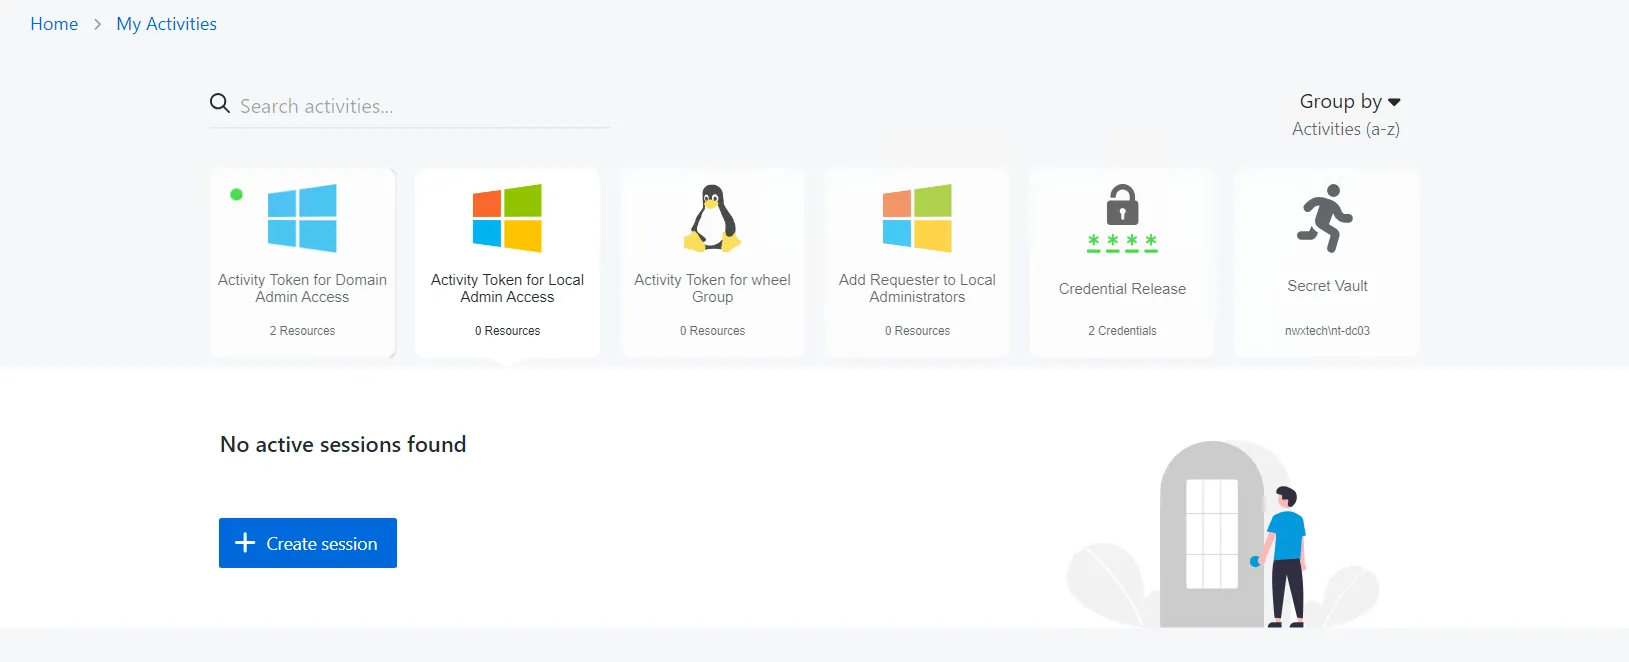
Step 2 – Click Create Session to start a new activity session.
- If an Activity is assigned to a single resource, the Activity card displays the name of the resource; selecting Create Session from the session ribbon immediately starts the Activity.
- If the Activity is assigned to more than one resource, the Activity card displays the number of resources; selecting Create Session from the session ribbon opens the Configure Session window.
warning
If your license is expired and you can still log in, you can't create activity sessions.
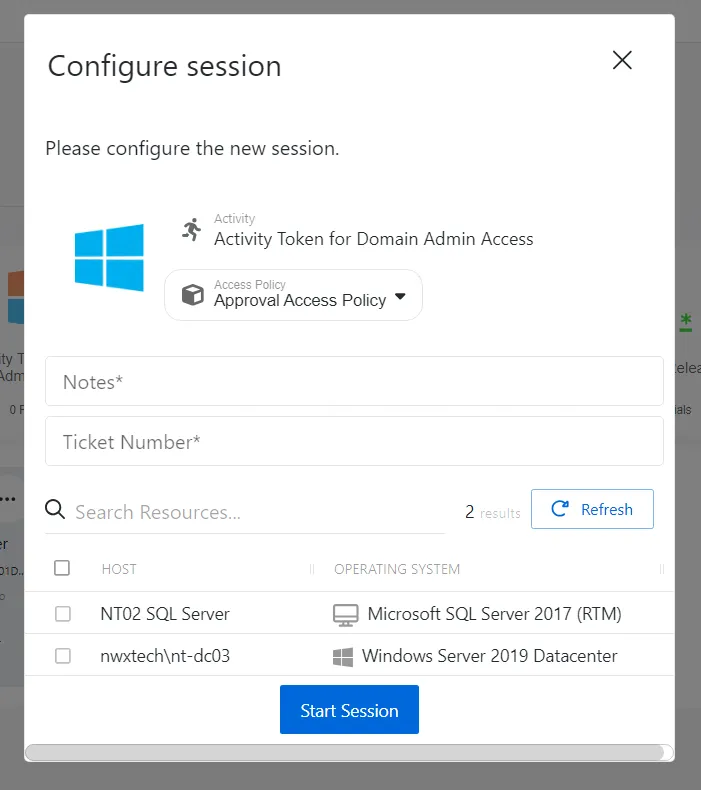
Step 3 – Enter the following information:
- If the Activity is a member of more than one Access Policy, the Access Policy field changes to a dropdown selection. Based the resources assigned to the selected access policy, the list of resources changes in the table.
- Enter notes or a ticket number in the applicable field (Set whether notes or ticket numbers should be optional or mandatory for the session in the related Connection Profile)
- Select the resources required for the Activity session. Use the Search field to filter the resource list.
- Click Start Session to start the provisioning process.
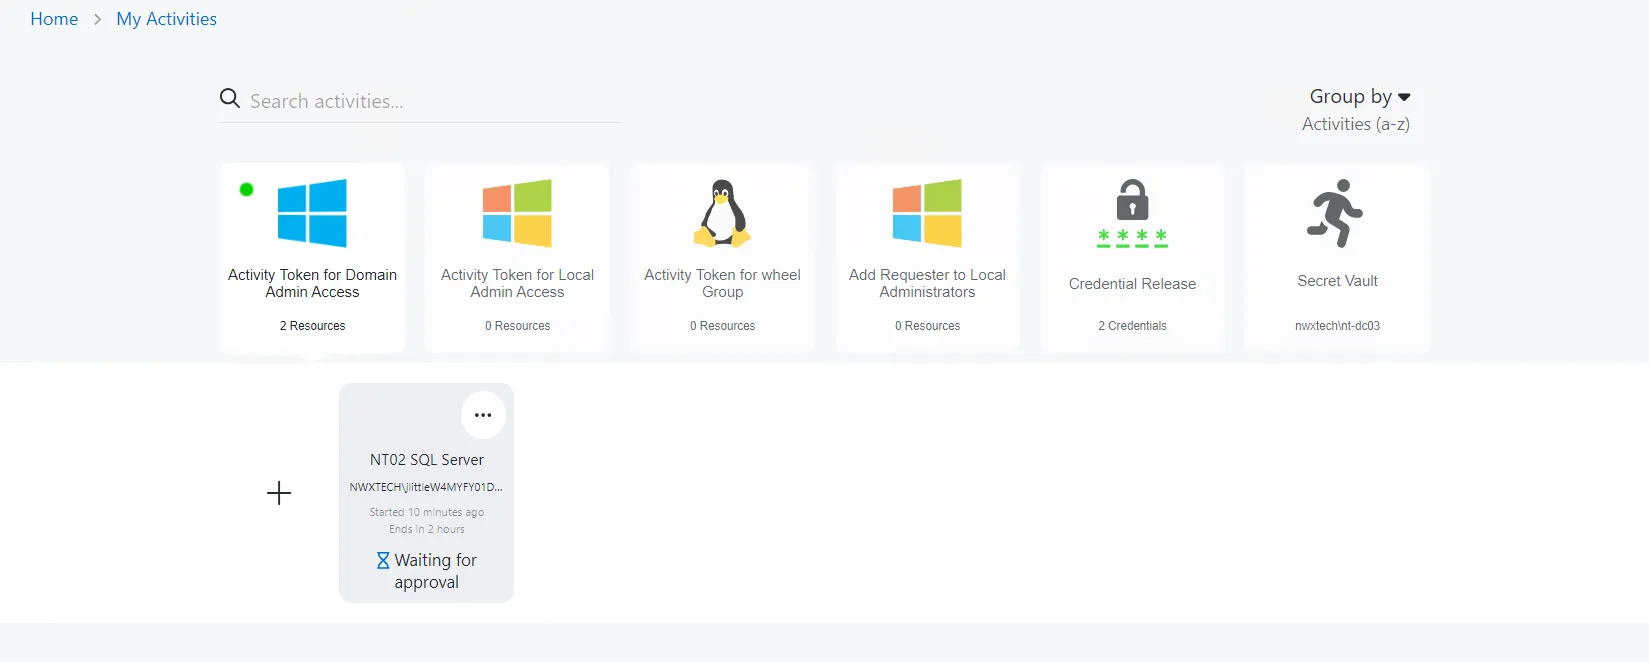
note
If an approval is required, the Waiting for approval message displays until it has been granted.

Step 4 – When provisioned, an activity session displays an Available status with a green icon. Click Available to launch the session.
- The contextual menu (…) to the top right of the active session card contains options to stop an active session and to copy/view the login account password, if enabled in the related Connection Profile.
- All sessions may be managed via the Dashboard interface, and the My Activities interface interchangeably.
Provisioning and active sessions appear in the session ribbon, newest sessions to the left.