Creating the Virtual Machine
To start the Endpoint Protector Virtual Machine in Azure, follow these steps:
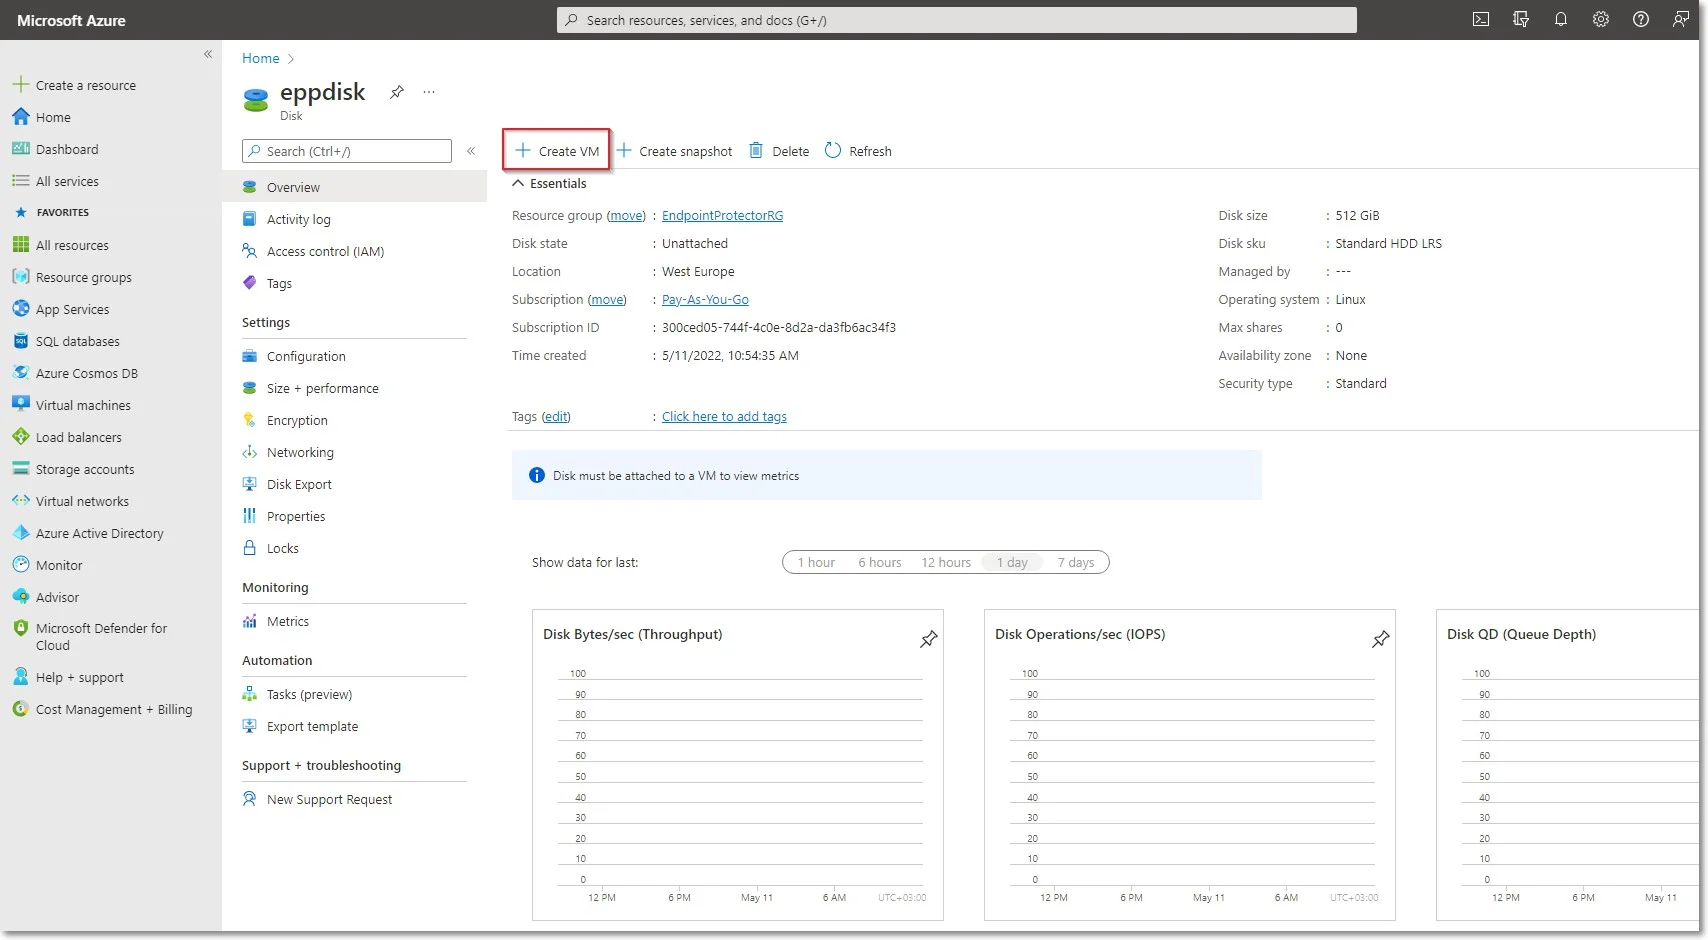
Step 1 – Go to the All resources page, select the newly created disks and then click Create VM
Step 2 – To create the Virtual Machine, provide the following information:
-
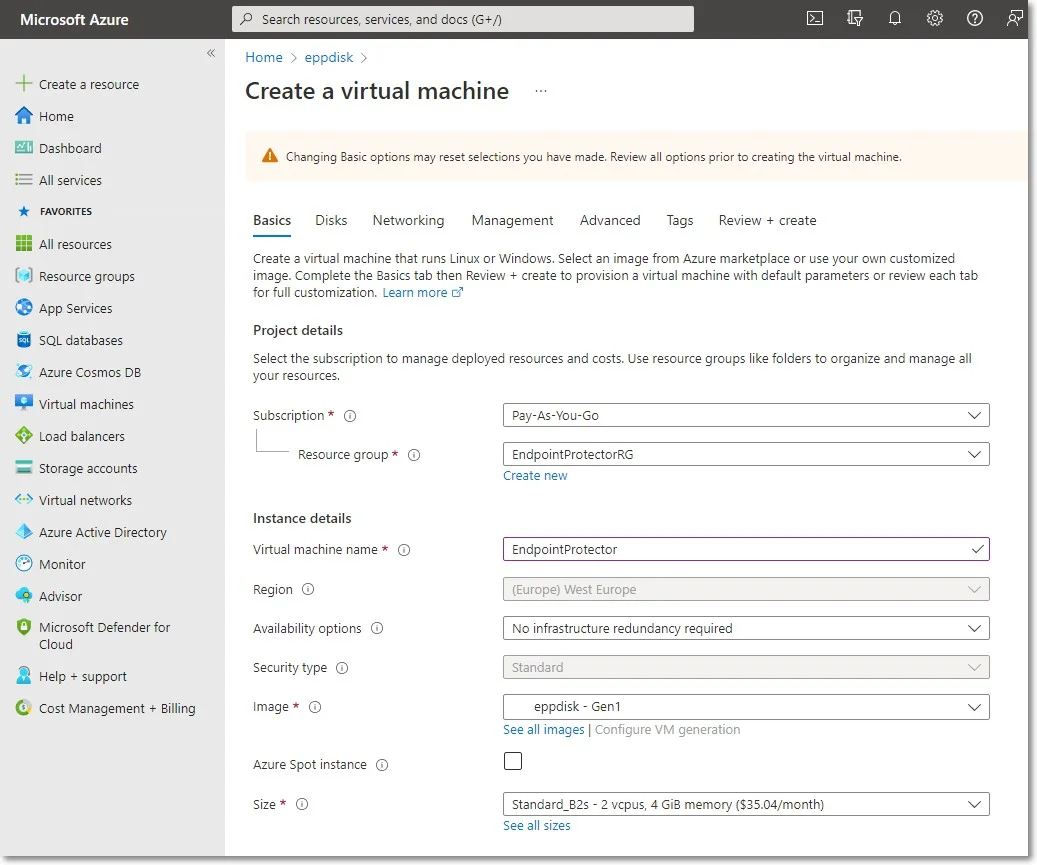
On the Basics tab, fill in the following:
- Subscription – select Pay-As-You-Go
- Resource group – select the group used when creating the disk
- Virtual Machine Name – enter a name for the Virtual Machine
- Size - select a virtual machine profile based closest to the recommended requirements for the disk file used
-
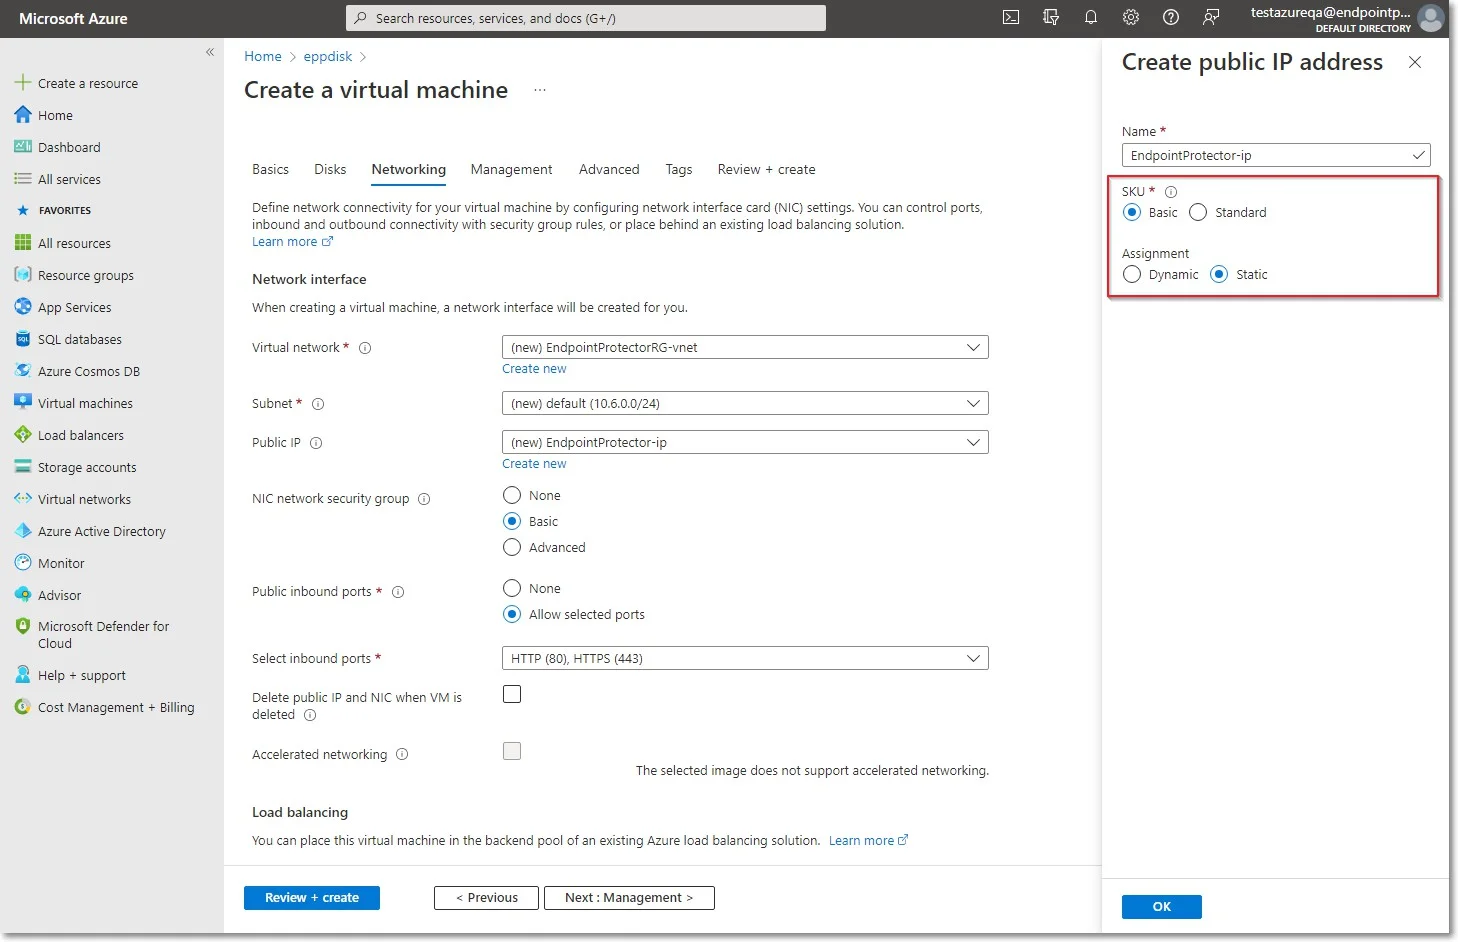
On the Networking tab, fill in the following:
- Public IP - click Create new and select Basic SKU and Static Assignment.
- Select inbound ports – add HTTP (80) and HTTPS (443)
Step 3 – Click Review + create and then Create.
For Additional Features, we recommend selecting HDD instead of SSD to avoid unnecessary payments for an unused SSD attached to the Virtual Machine.
Step 4 – Once the deployment has finished, go to Virtual Machines on the right side and select the Endpoint Protector image.
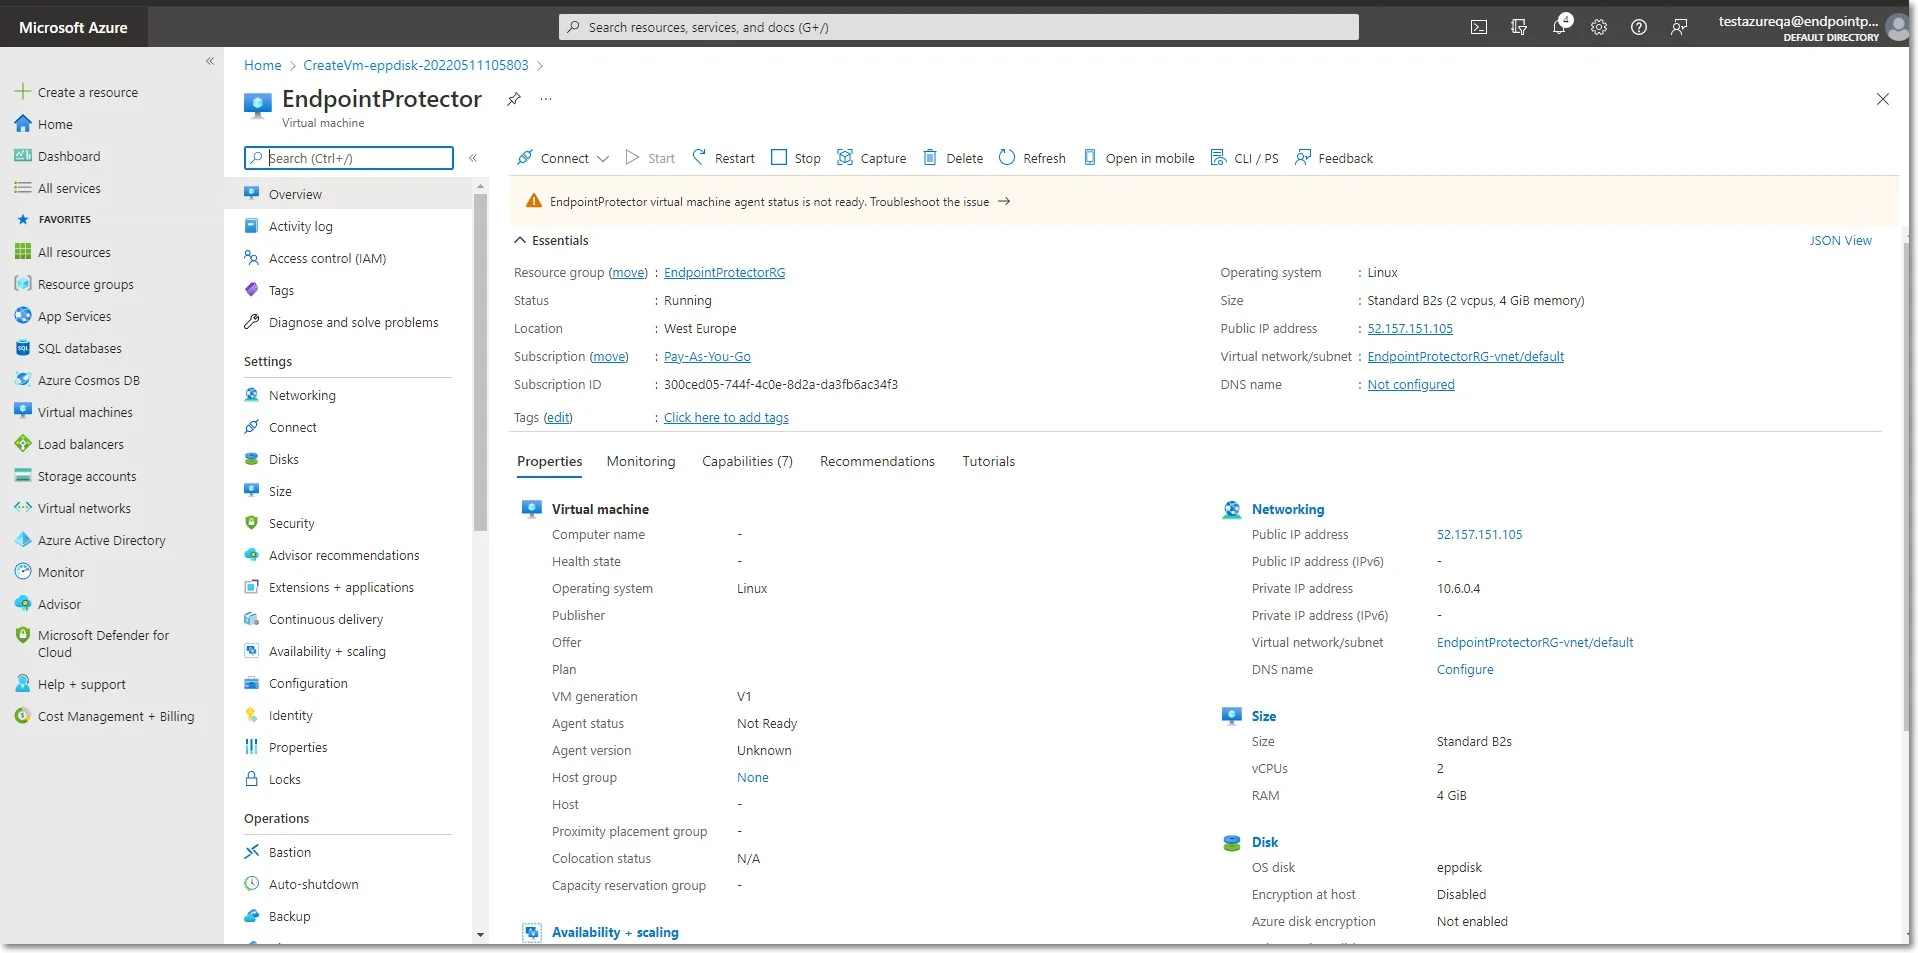
Step 5 – Open a web browser and connect to the Public IP address assigned to the Endpoint Protector image.