First Log In to 1Secure
This topic describes how an MSP can access the 1Secure tenant for the first time, activate their account, and complete the initial log in. After logging in, the MSP can add users to the tenant and assign them roles based on the required access levels.
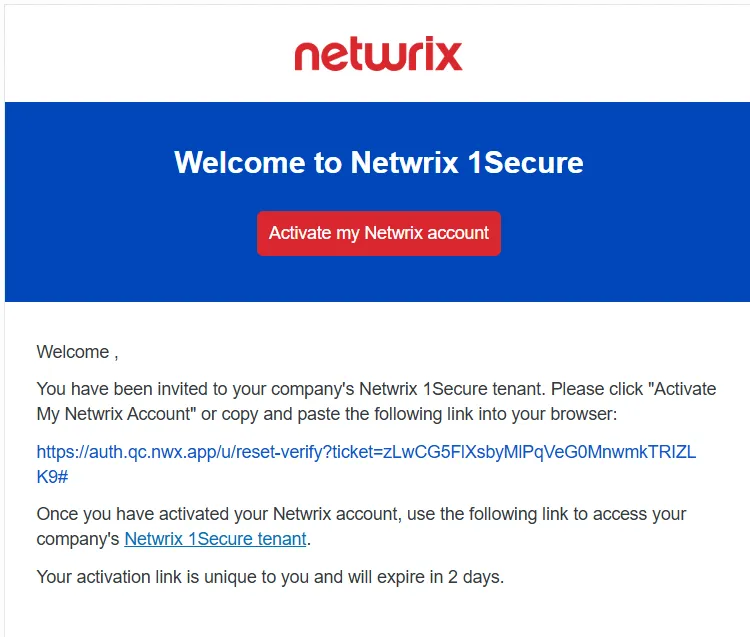
When the Netwrix team adds a new user account for your organization, you receive an email invitation. This email is sent from "noreply-account@netwrix.com" and has the subject "Welcome to Netwrix 1Secure".
This email includes a unique access link to product’s web portal. Activate your account via the link within 2 days. If it expires, follow the link to request a new activation link.
Activate an Account
To activate an account:
Step 1 – Open the invitation email and do one of the following:
- Click the Activate your Netwrix account button
- Click the account activation link included in the email.
The Change Your Password page is displayed.
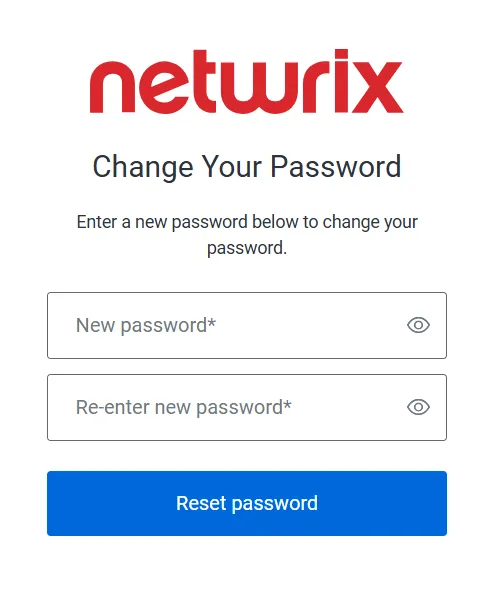
Step 2 – In the New password field, enter a password to set for your account.
Step 3 – In the Re-enter new password field, enter the same password again to confirm.
Step 4 – Click the Reset Password button. The account is now activated and your password is set.
After you set your account password, log in to 1Secure with your credentials. See the Log In topic for additional information.
Log In
To log in to 1Secure:
Step 1 – Open the invitation email and click the Netwrix 1Secure tenant link. You are navigated to the 1Secure login page.
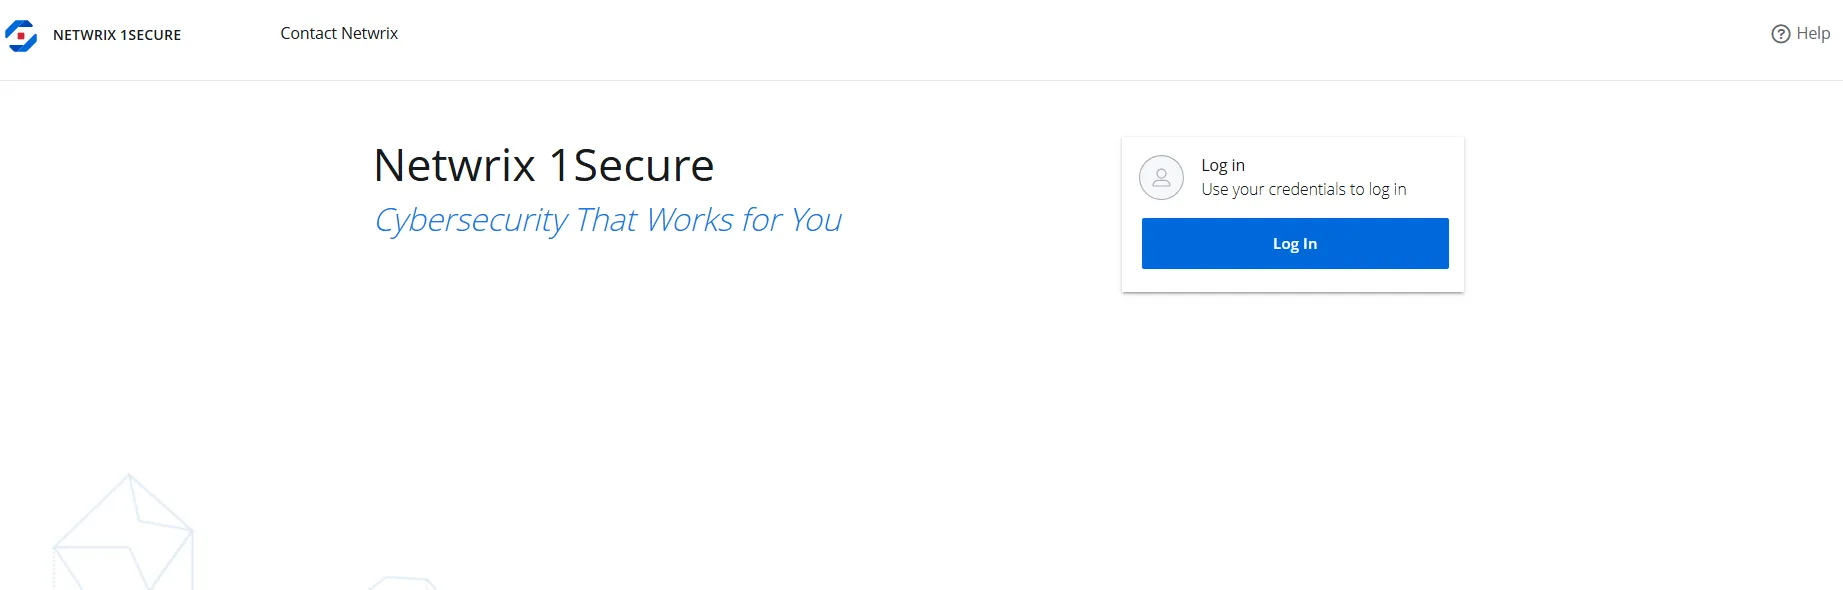
Step 2 – On the login page, click the Log In button.
Step 3 – In the Email address field, specify a valid email address registered with 1Secure, then click Continue. The Enter Your Password page is displayed.
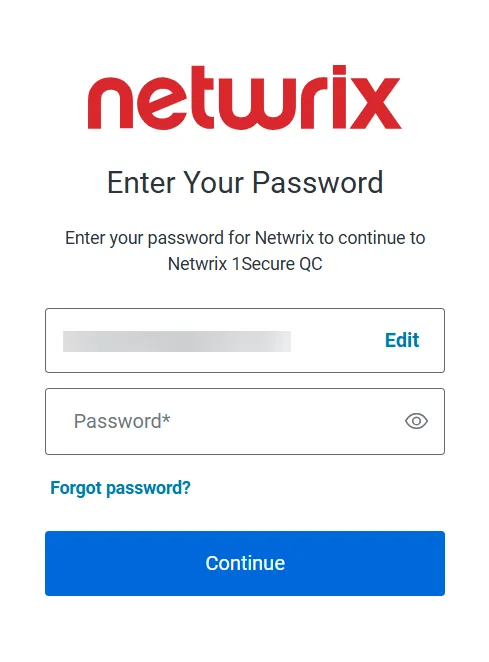
Step 4 – In the Password field, specify the valid password for the email address, then click Continue. The Keep Your Account Safe page is displayed, prompting you to choose an authentication method. When logging in for the first time, you must authorize your account using multi-factor authentication.
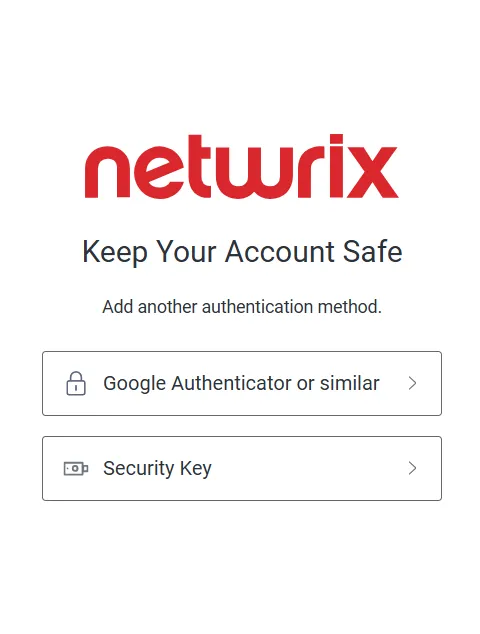
Step 5 – Click Google Authenticator or Similar or Security Key to select an authentication method. After that, one of the following happens:
- If you selected Google Authenticator or Similar option, you are navigated to the Secure Your Account page. Scan the QR code using your preferred authenticator app and then enter the provided one time code in the Enter one time code field. See the documentation of your authenticator app for additional information.
- If you selected Security Key option, you are navigated to the Adding Your Security Key page. See the Set up a security key as your verification method article for additional information.
After successful authorization, you are redirected to the dashboard. See the 1Secure Dashboard topic for additional information.
After the initial login is completed, an MSP can configure Single Sign On (SSO) using supported authentication services, including Entra ID, 1Secure Authentication, or OpenID Connect. See the SSO Configuration with Authentication Services topic for additional information.
Reset Password
To reset the password of an account:
Step 1 – Navigate to the company's login page.
Step 2 – On the login page, click the Log In button.
Step 3 – In the Email address field, specify a valid email address registered with 1Secure, then click Continue. The Enter Your Password page is displayed.
Step 4 – Click the Forgot password link. The Change Your Password page is displayed.
Step 5 – In the New password field, enter a password to set for your account.
Step 6 – In the Re-enter new password field, enter the same password again to confirm.
Step 7 – Click the Reset Password button. The password of the account has been reset.
After you reset your account password, log in to 1Secure with your new credentials.